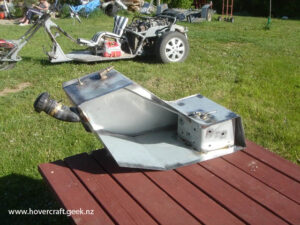
I pressure tested the tank by putting 4 psi of compressed air in the tank and checking for leaks. all was good so i then bought some POR15 fuel tank repair kit which once you go through all three steps it ends up putting a fuel resistant coating on the inside of the tank which not only helps seal any pin holes you have but also prevents rust from forming later in life.
Originally when i bought the Harley tank the fuel cap came out the middle of the tank, i’ve since re positioned it twice and finally happy with it sitting in the top left corner of the tank, sadly when i went to buff away the paint so i could weld the filler neck in its new position, the previous owner of the tank had done a few dent repairs and then covered it all up with at least 10mm thick of body filler so that just adds to my work load but its not the end of the world.


