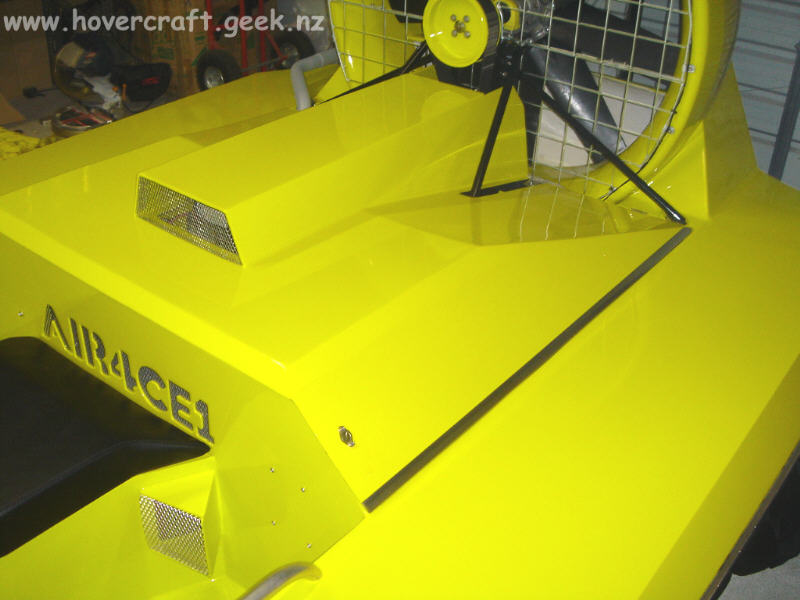
I don’t know why but for some reason even though i’ve built the whole craft from the ground up, securing the engine cover i have been putting off for months. It was one of those jobs i just really wasn’t looking forward to and it’s kinda weird cause it wasn’t a hard job, so i don’t know maybe i’m just going mad or something hehe. Anyway its all secured now. I put two polished bits of aluminium down either side of the cover so that it straightened out the bow that the plywood had, so now it fits nicely along the edge of the craft.
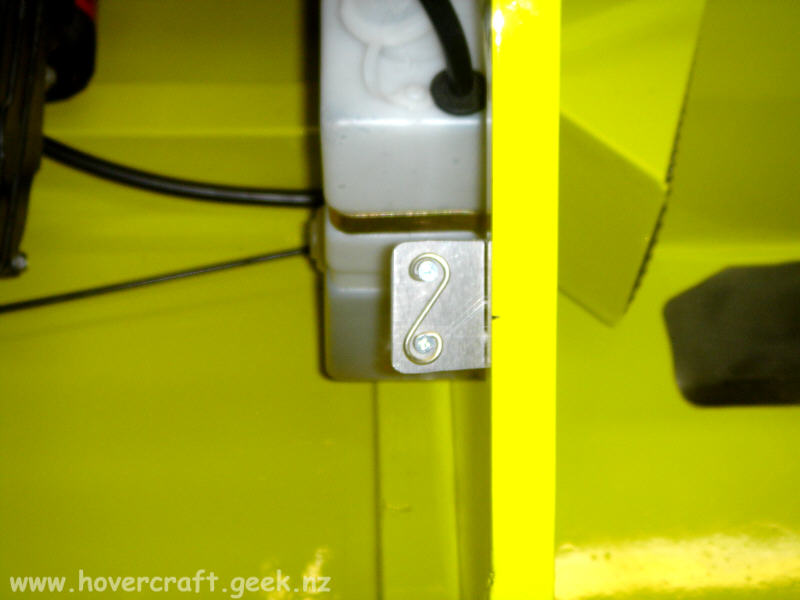
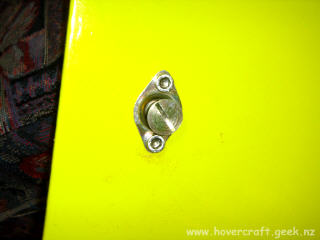
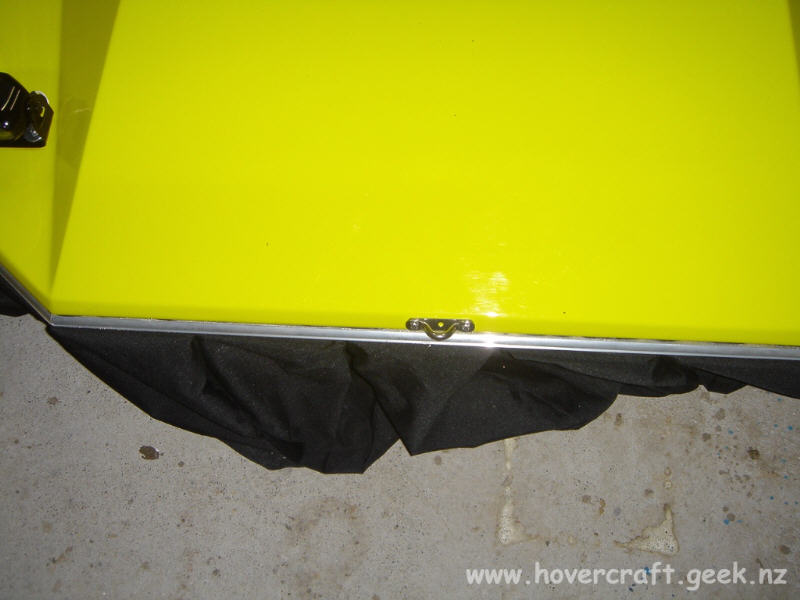
I made a small aluminium plate and attached this “S” shaped spring to it which is part of a 1/4 turn fastener that I’m using to secure the front of the cover in place. The fastener is called a ‘Dzus fastener’ and is one of those items that you only turn 1/4 the way to lock or unlock it.
.
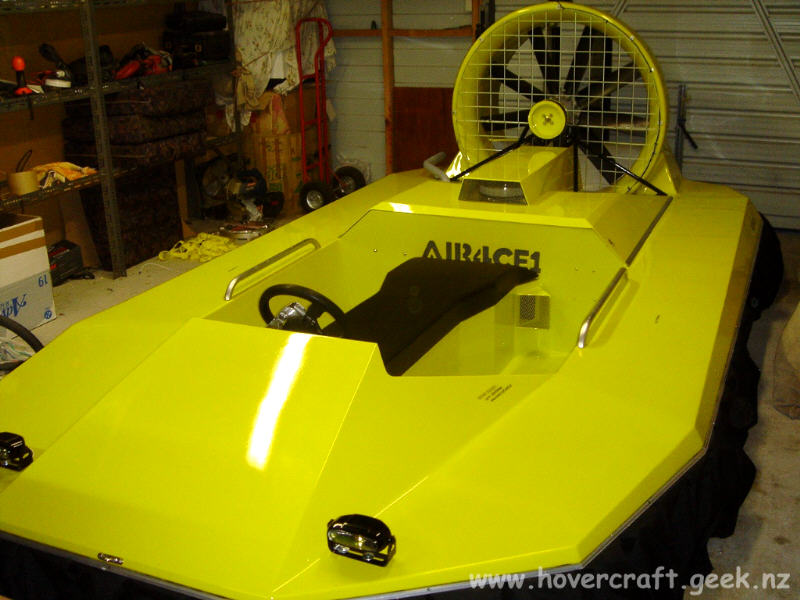
I’ve also attached a towing eye to the front of the craft. When building the craft i often thought i better put a little extra strength up front here for a towing eye but never actually got around to doing it , so the best i could do is place a 5mm thick metal bracket in behind the front batten and screw the towing eye into that. Hopefully it will with stand the forces of being towed or winched on a trailer.
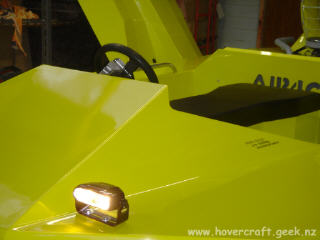
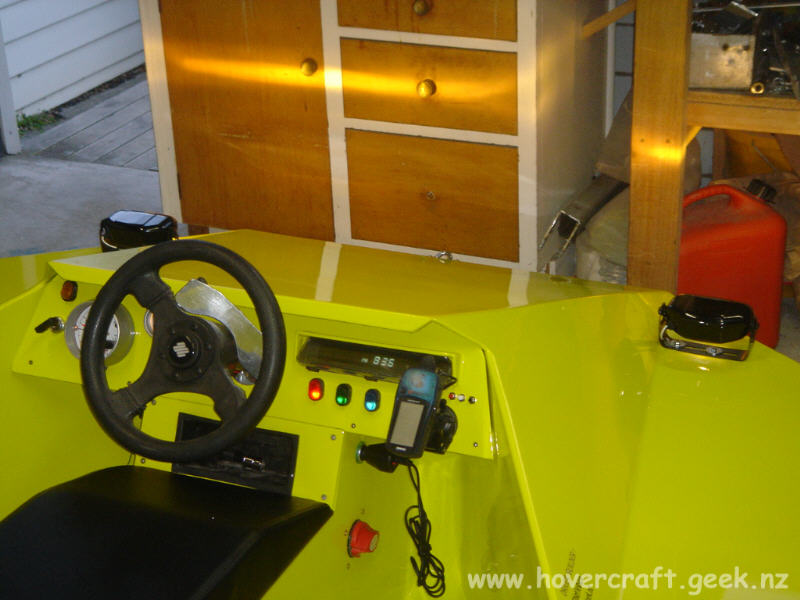
I needed to make use of the spare switches i have in my dash so i fitted some slim line driving lights to the front for those fishing trips at dusk 🙂
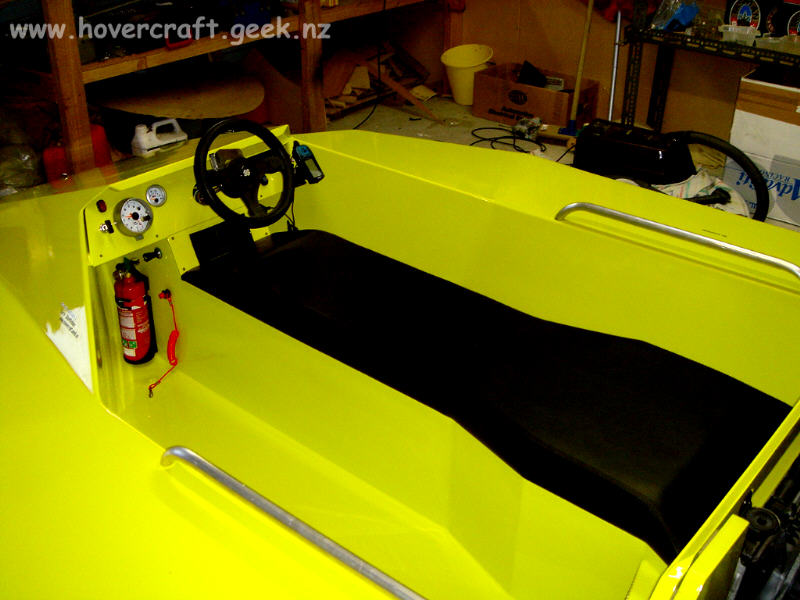
My seat is finally upholstered. I made it sloped at the front and rear of the seat so that the AIR4CE1 words didn’t get blocked at the rear and the parcel tray didn’t get blocked up the front. I’m also just starting to make up some grab rails for the passengers to hang onto so that they aren’t grabbing my love handles all the time hehe. They are also made from aluminium and once welded up i will try and convince my wife to polish them till they shine like new 🙂
.
.