Wooo hoo i got my duct and its a sexy looking beast hehehe.
After talking to my duct supplier i found out that the duct has reinforcement through it and that cutting the duct prior to adding the splitter plate is ok, so i did 🙂 and now its sitting down in place. Just playing with some ideas now on how to mount it. I have a few thoughts on what to do but for now i think i’ll wait till Monday cause my supplier is coming down this way and is going to call in so i will drain him of 4 million questions then hehe.
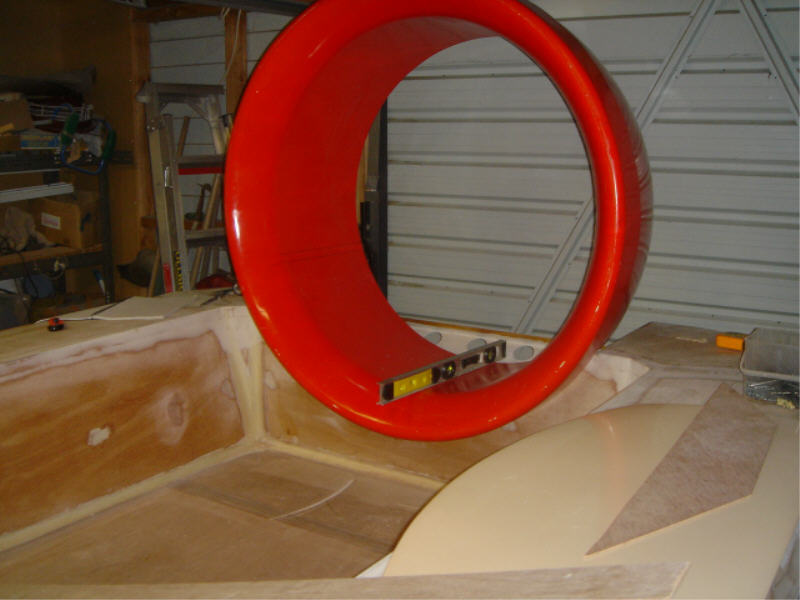
If you look closely to the top of the picture on the duct you’ll see the pen line i drew that shows how high my splitter plate will sit (which for my craft needs to be 1/3rd of the duct area), so now i’m playing around with scrap ply to try and sort out the best design for the rear panel and duct mounting panels etc. Its a pain not having anyone else in my area that is into hovercrafts cause it would be handy to physically stand beside a built one to check out how and why things have been done the way they have, maybe i might have to take a drive one weekend and try to find one somewhere. 🙂
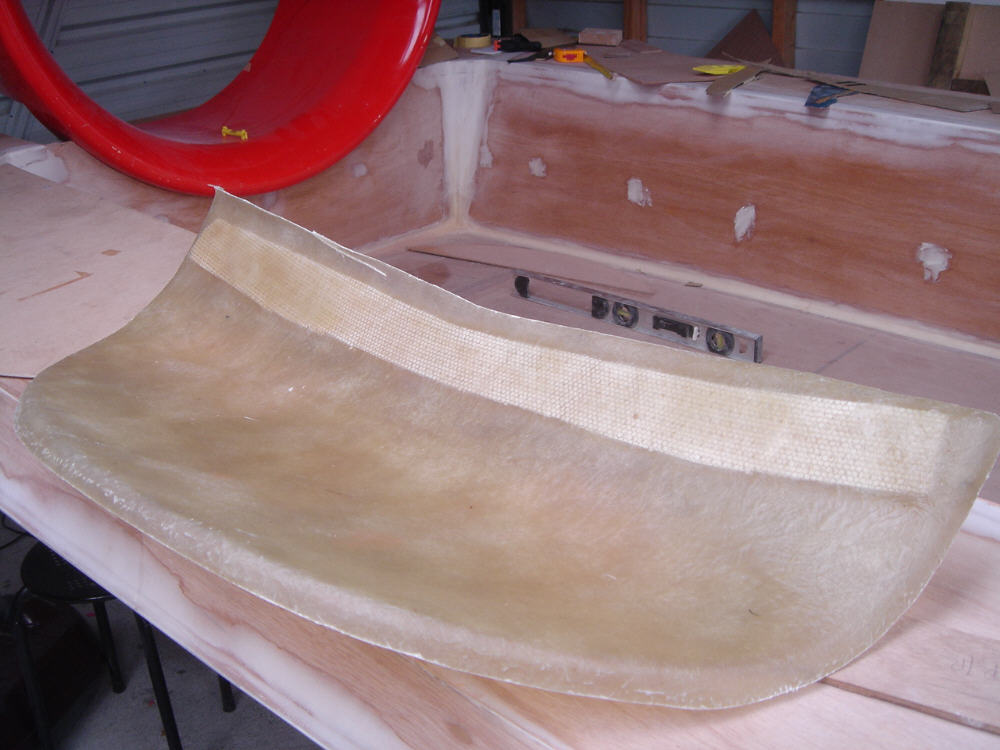
Here is the splitter plate, it is the same splitter plate that’s used in the Tornado hovercraft, i’m glad i waited till it arrived before doing anything major in the duct area because the shape of this plate is not even close to what i had in mind that it would look like and if i had of mounted the duct prior to getting it i would of been a mile off.
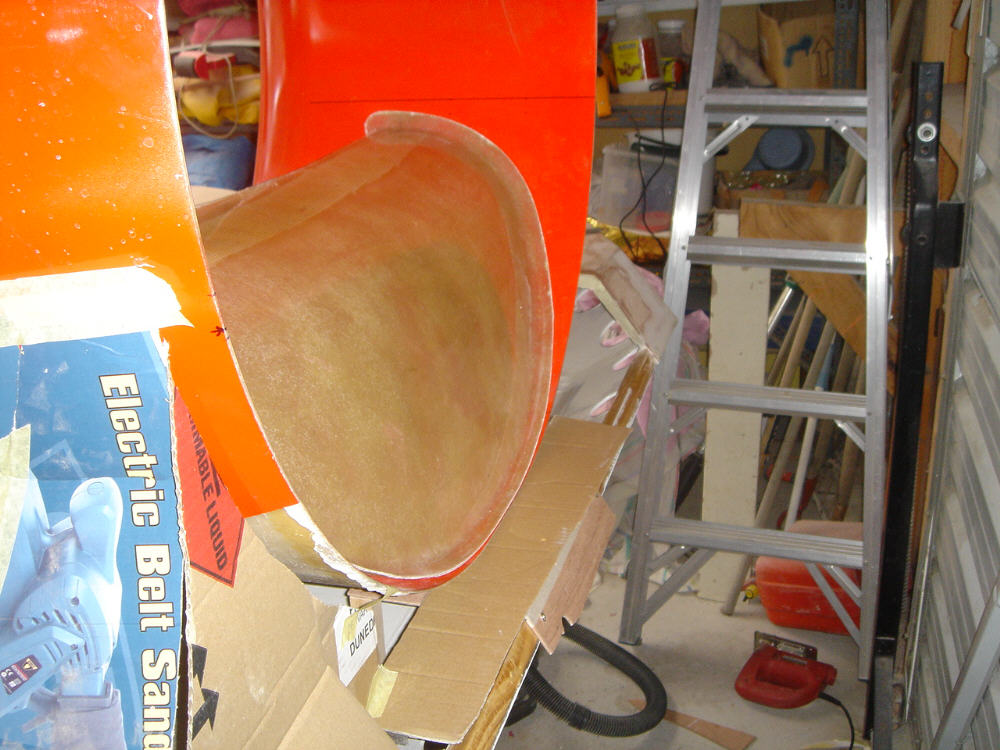
The splitter plate is just sitting in place here so i can get a visual on what it will look like. After talking to Ken on Monday when he was down i now have the right direction to head in, what he’s suggested is based on the same principle that the Tornado hovercraft uses. Down side in my case is that due to the shape of the wedge the duct will now have to be raised so that the bell mouth rests on the rear bulkhead rather than the inner skin of the duct, what this means is that the thrust line of the duct is now raised when in fact i understand that the lower it is (within reason) the better it is. The reason its now sitting on the bell mouth is because i have to shift the duct as far to the back edge of the craft as possible for various reasons such as mounting the Tornado rudders etc.
If you look closely to the top of the picture on the duct you’ll see the pen line i drew that shows how high my splitter plate will sit (which for my craft needs to be 1/3rd of the duct area), so now i’m playing around with scrap ply to try and sort out the best design for the rear panel and duct mounting panels etc. Its a pain not having anyone else in my area that is into hovercrafts cause it would be handy to physically stand beside a built one to check out how and why things have been done the way they have, maybe i might have to take a drive one weekend and try to find one somewhere. 🙂
Because the splitter plate is pre designed for the same size duct that gets used in the Tornado hovercraft i don’t have to worry about working out the correct height to mount it, all i have to do is mount it and cut out the hole in front of it 🙂 so those lines i marked out earlier are in fact just there for educational purposes now :). The aero foiled shaped rudders that i have are full length not just the size of the remaining duct space above the splitter plate. The air that passes over the back of the splitter plate to provide thrust also flows down the back of the plate, so that extra air is being utilised by the longer rudders so hopefully that will assist in the steering.