
Ok ok so i couldn’t resist putting up further photo’s of it to show off how well its starting to come up after hours and hours of sanding. These following three pictures are shots of it after the third coat of primer, each layer of primer has meant i’ve had to sand the whole craft down each time, but I’m getting quicker cause i have got it down to about 6 hours a time now *sigh*
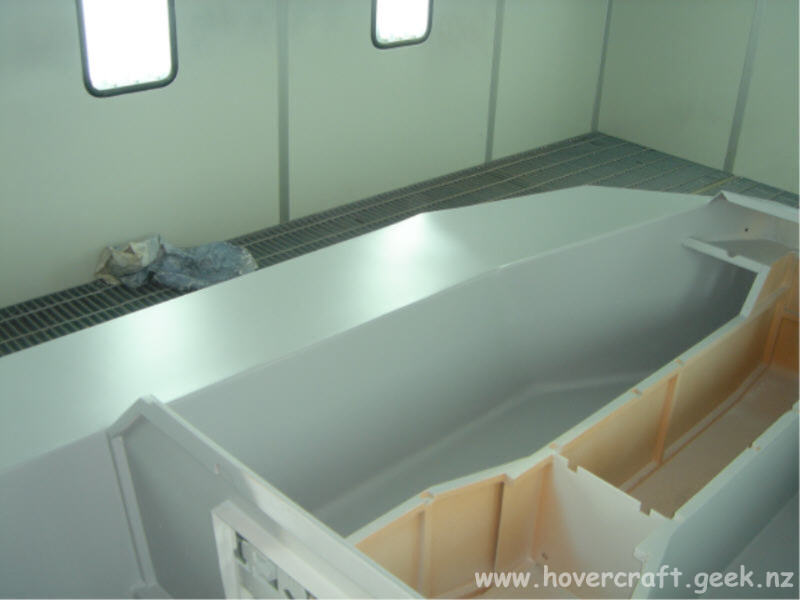
Check out how smooth those top panels are hehe, it took lots of sanding and effort to stop the grain showing through from the plywood, but damn it was worth every moment
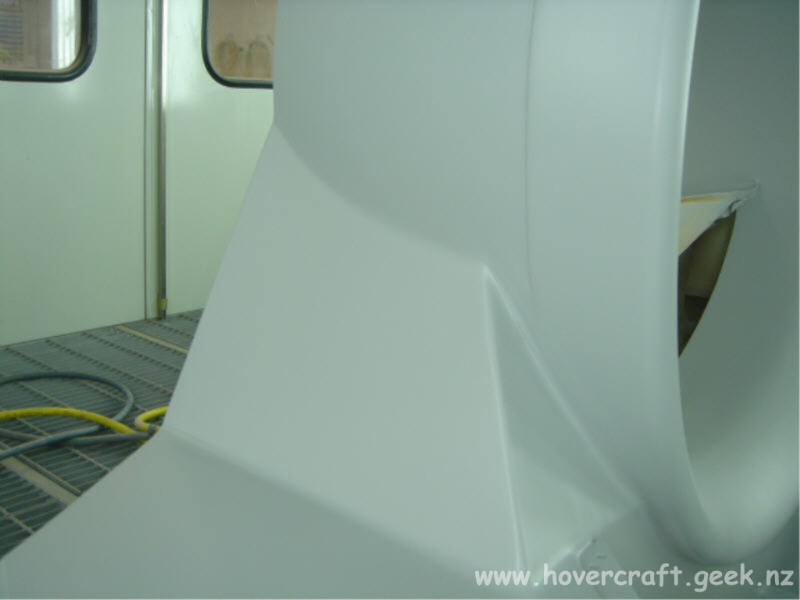
If you recall from earlier shots where the duct was attached to the hull there was a couple of layers of glass and q cells there , well even i’m surprised that for a mechanic and not a panelbeater/painter that you can’t even notice the joins now hehe.
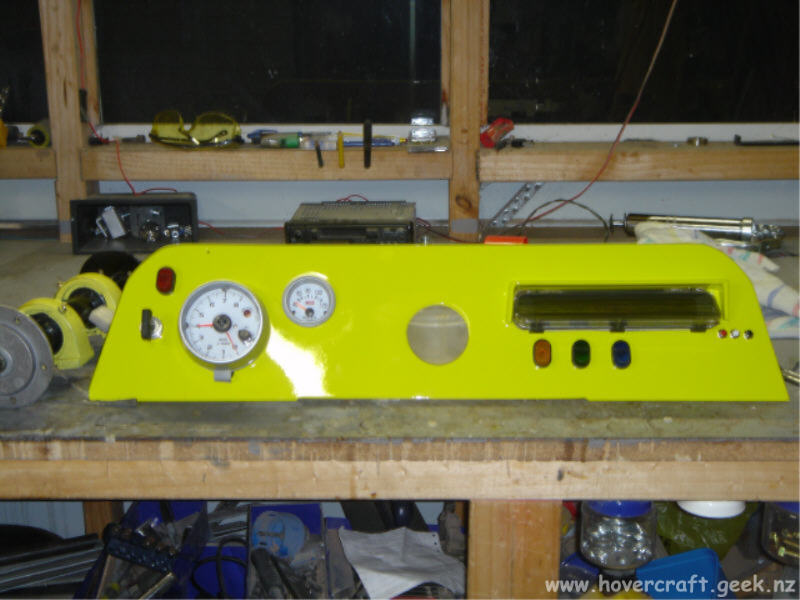
Well the top coat got put on a few items the other day and yes my suspicions were correct , the colour is umm “bright” 🙂 . I was kinda hoping for something not quite so bright but when i checked out the paint samples it appeared to be darker than what it turned out to be , but oh well i’ll get over it , nothing a few pin stripes and stickers can’t fix
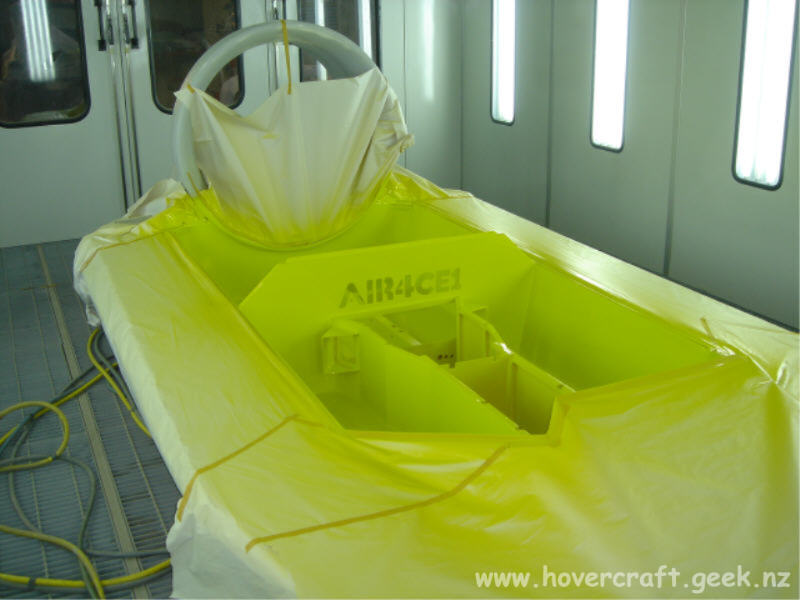
Due to the width of the craft it was more practical to paint the craft in two sections, do the inside first then spray the top decks and duct once the inside had all dried. By trying to do the whole lot at once increased the chances of getting runs in the paint because of the volume of paint that would have to be sprayed to reach the areas that had to be stretched over to spray
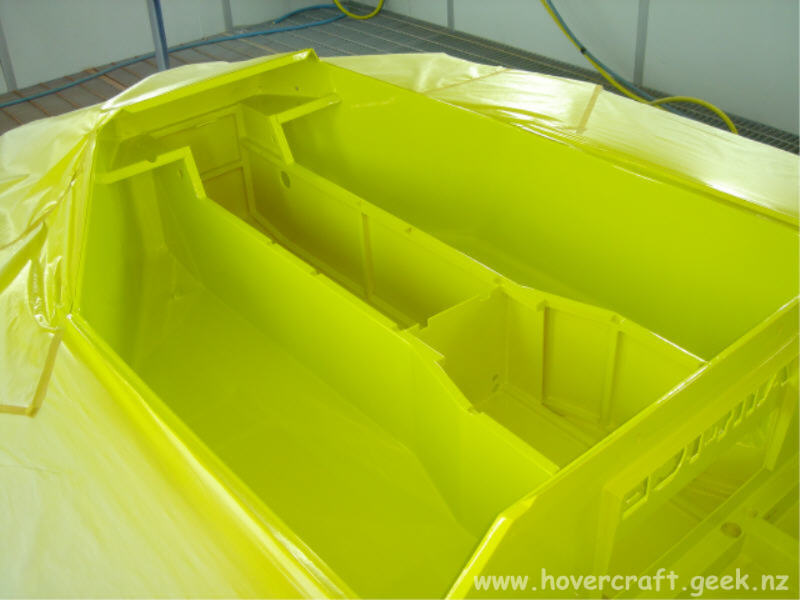
For some reason the camera makes the paint look like it has a strong tint of green in it , but maybe that’s a mixture of the camera and artificial lights doing that , cause up close it looks more yellow than it does here. either way its still bright hehe.