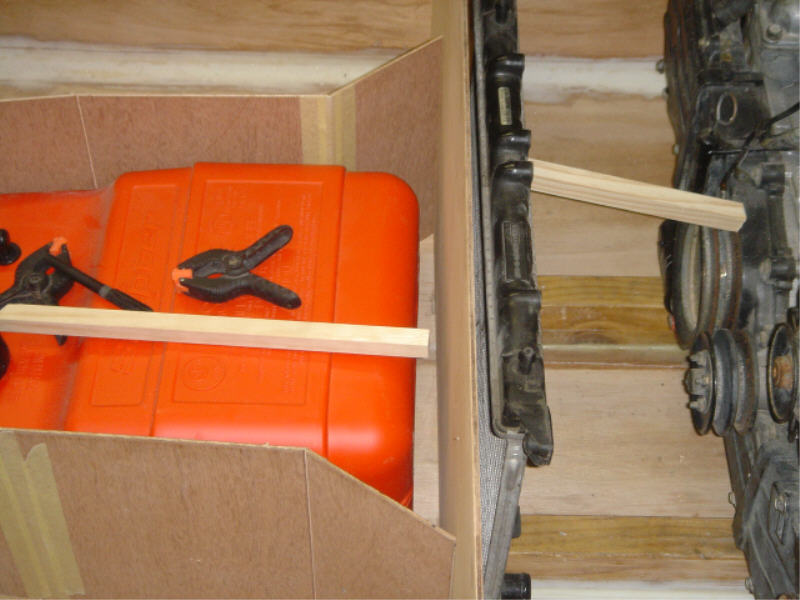
You can see what i mean here about the last 140mm of the seat sides, i angled them like that so that hopefully they have more chance of grabbing the air from the cockpit area than they would if they were just plain straight. kinda like a venturi set up 🙂 (in theory). That takes care of the lower half of the air needed for the radiator, and the next picture shows how i plan on feeding the top half of the radiator.
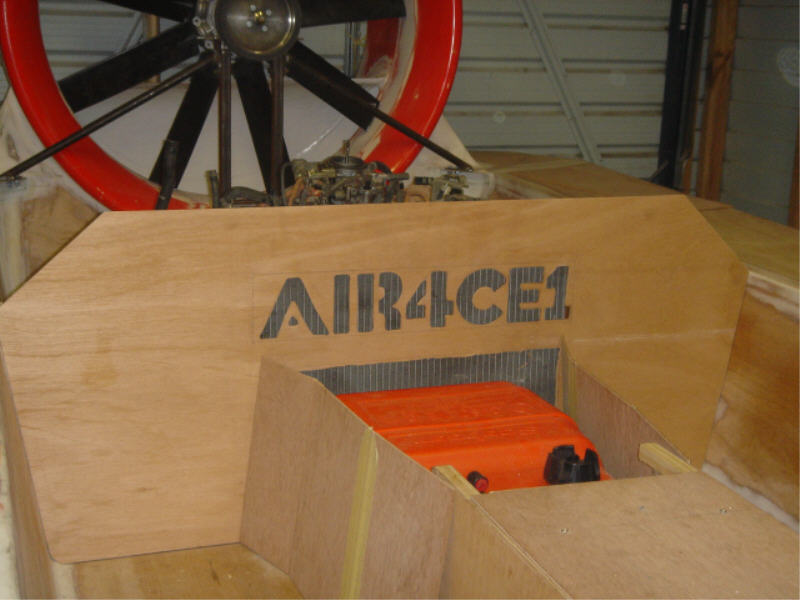
Behind the rear of the tank i’ve cut out a section of the bulkhead for the air that will flow under the seat and for the top i started to think that i will just drill a few holes but then decided to get creative with the router, so i have now named my craft as AIR4CE1 (pronounced air force one for those of you like my friends that first off pronounced it ‘air four C – one’ *sigh*). I made the letters big enough so that enough air can pass through to the upper half of the radiator. It may not be the American presidents plane but it does force air and it is the first one I’ve built 🙂 *wink*. Now that I’ve used up my once a year spell of creativity its back to fibre glassing tomorrow.
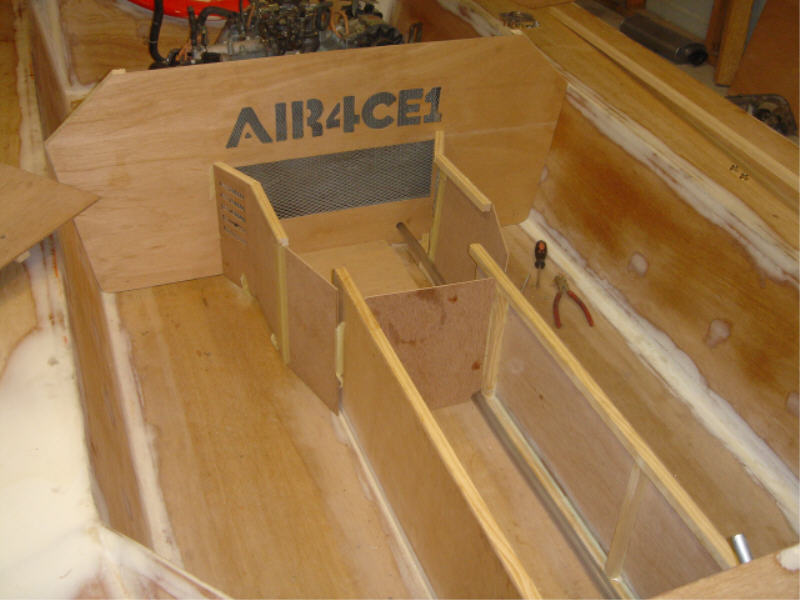
Similar view as above but i now have wire mesh behind the bulkhead panel and also made some air vents at the rear of the seat sides.
.