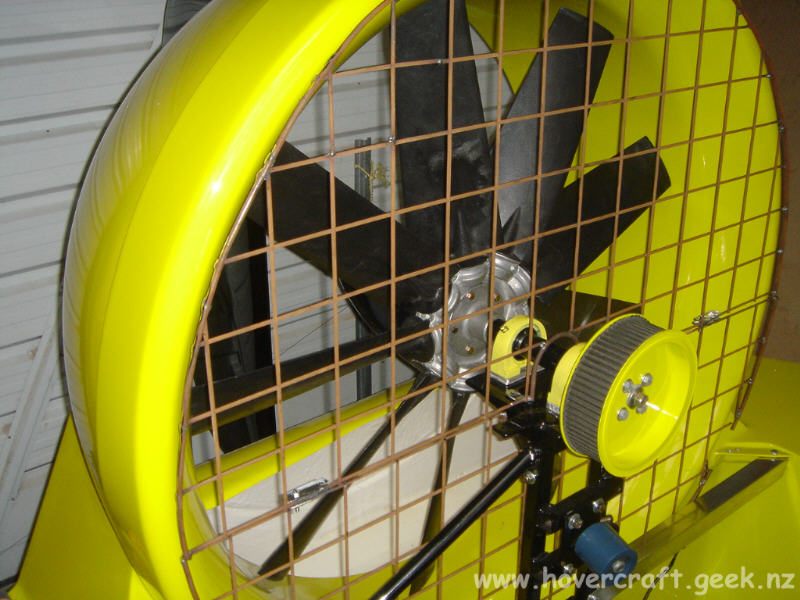
I started to make a wire mesh Fan guard for the front of my duct. and before anyone comments i know that technically having the mesh in a convex shape adds to the strength in the event that someone were to fall onto it but in my case, Due to the design of the rest of that area i have made my mesh flat and is mounted in several places around the outside of the duct as well as mounted directly to the fan frame to give the center of the mesh the strength and support it needs.
The mesh is 4mm wire and the outside frame of it is 6mm solid round bar and due to the way my transmission is all set up, my mesh is made in two halves . Both halves once mounted are also bolted together to form a 8mm thick wire right through the center near the fan frame. Now that i have it all mounted its off to be powder coated, then i can finally reassemble the drive train and see if it hovers.
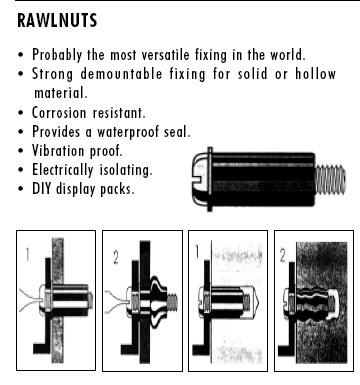
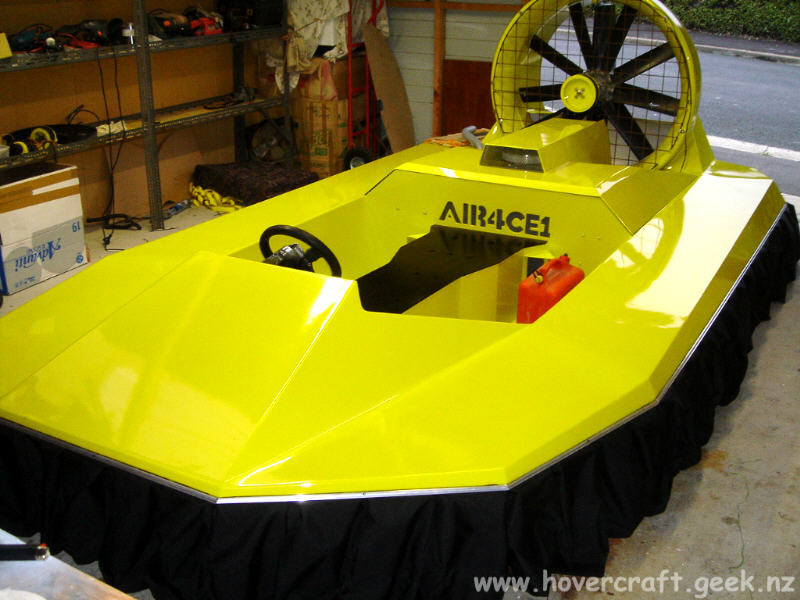
Now here’s a boring photo for you hehe. My duct is fully sealed so i have no access to the inside of it so i had to find a strong way to bolt my fan guard to the duct without potentially cracking the duct by using other methods. They are called “rawlnuts” or “rubbernuts” and come in various sizes. Click this image to see a diagram on how they work.
Another boring photo but i got 100mb of web space to fill hehe.
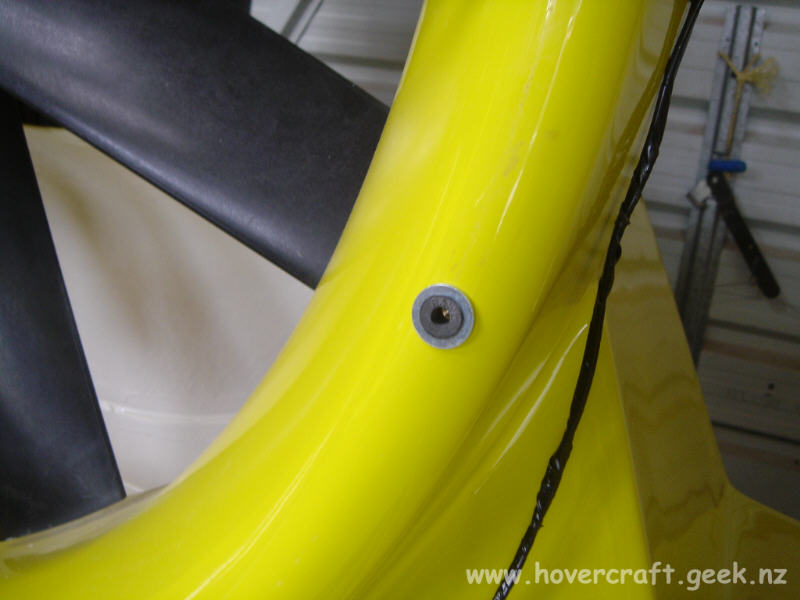
I drilled 9 * 10mm holes around the apex of my duct and inserted a rawlnut and washer into each hole and that was it, now my fan guard is ready to be mounted fully.
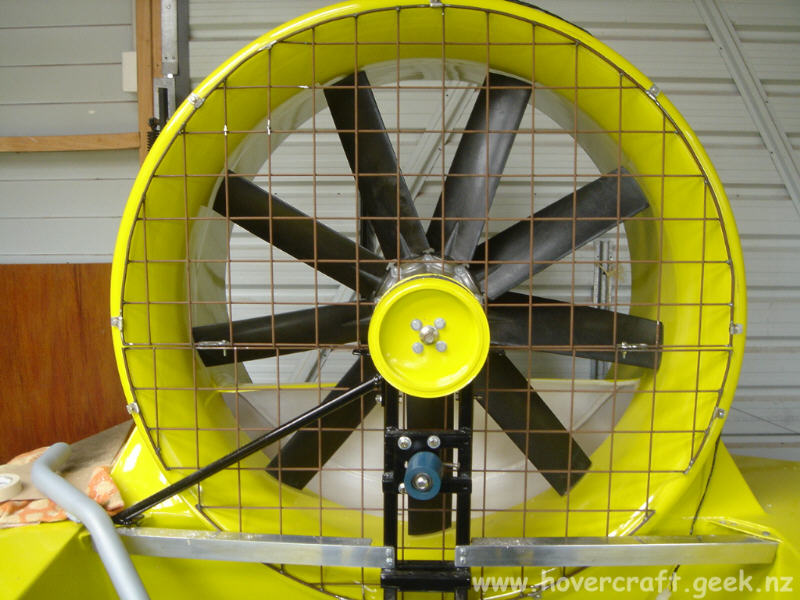
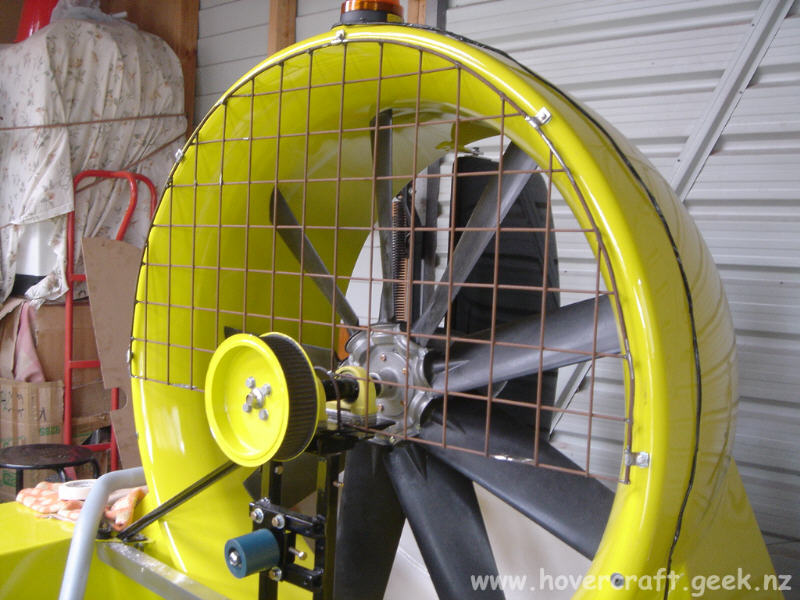
The completed mesh apart from being painted. The final product is not quite round or straight and the squares on both mesh halves don’t line up exactly but its the best i could do using a scrap piece of mesh i got a hold of, and besides that this cost me nothing to build which is a hell of alot cheaper than the $470 a place in town wanted to charge me when i asked him just out of curiosity.
.