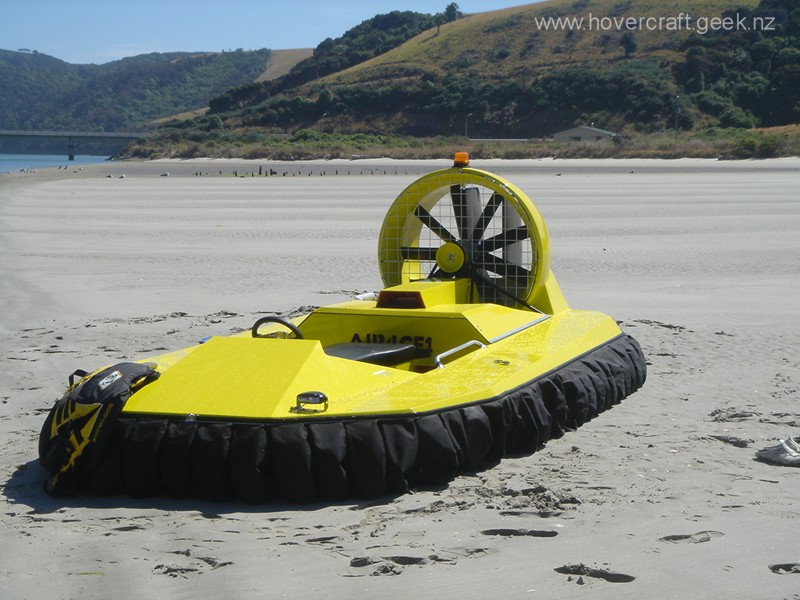
Here is the basic shell of the cockpit made , minus the seat and steering items, i have specifically left these items out for now so that once the basic hull is created i can add the motor and work out what the weight distribution will be and then create the internals of the cockpit accordingly.
As boring as the picture maybe i thought i would add this anyway just to show anyone starting out building a superwedge that the panels prior to fibre glassing get stitched together with wire, (although hard to see in the picture anyway) and to be honest this is a brilliant concept , it saves time and effort and in some cases automatically aligns the plywood edges up. The fiber glassed section you see here is the extension to the length i made so i could fit a subaru engine to it later on.
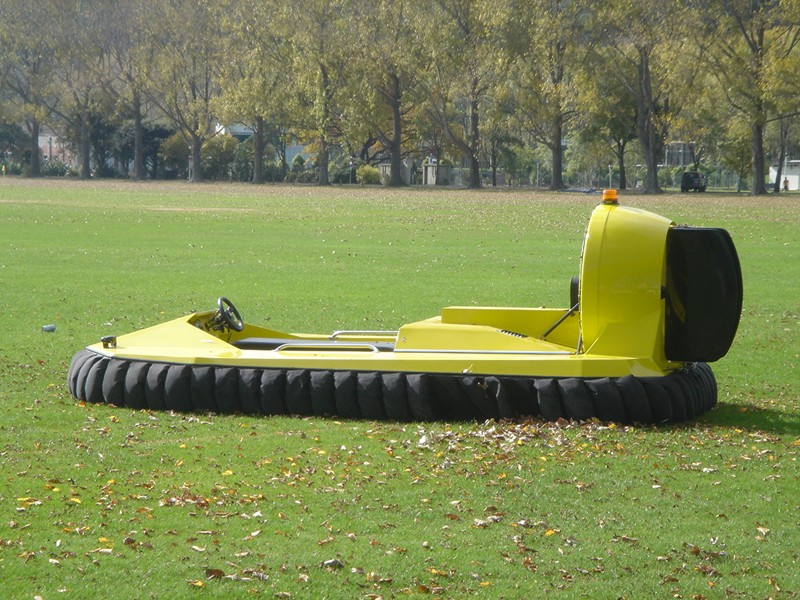
This picture here is a view of the rear of the cockpit, the reason i added this pic is purely cause i can 🙂 but apart from that its just showing the rear panel that has been “V” grooved with a router and then bent into place, another neat concept as this also saves time and hassles. :-), the masking tape applied to the panel is on the opposite side to the V groove and is there to help prevent the ply splitting to pieces when folded
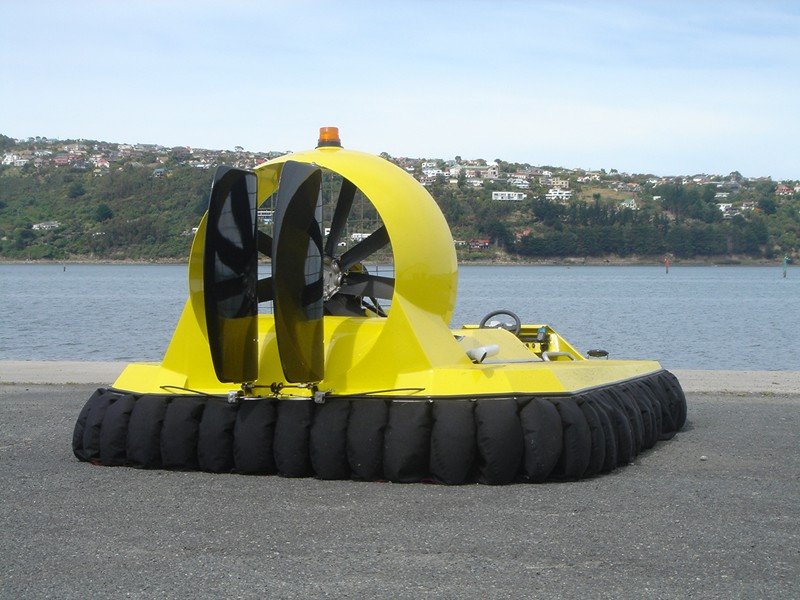
All three of these pictures are showing views of the cockpit filleted with epoxy resin and Q cells, and then fiber glassed over the top with epoxy resin and 50mm tape