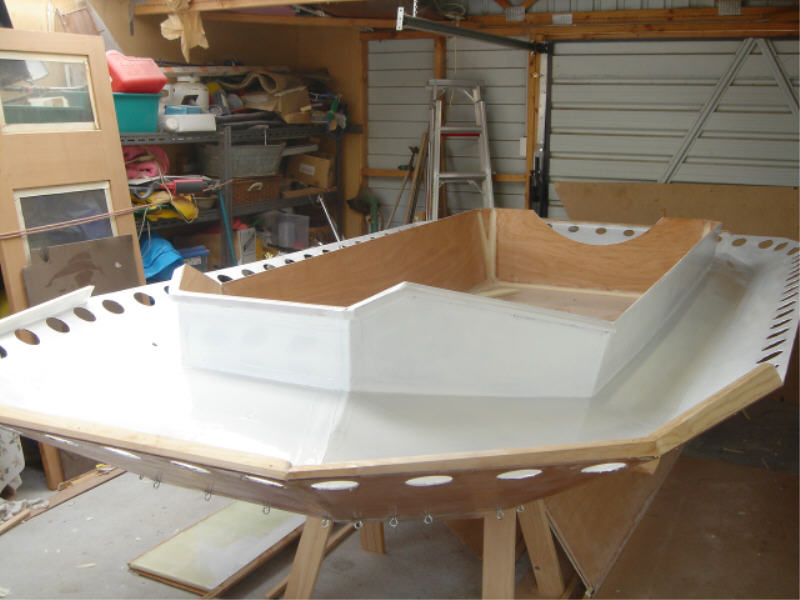
Now that all top panels are aligned and foamed I have painted the buoyancy tank tops and side panels with a white epoxy paint, this is an optional choice but I choose to do it because this is where the air and any water that may get in will be, so I thought a nice coat of paint here would seal things just that bit better. 🙂

The tops have now been resined in place and the next couple of pictures are just a couple of various views of the craft at the stage its at now. Next step is to tidy up the edges and fibreglass the seams whilst I wait for a duct to arrive, when that arrives I can then continue in the back end of the craft
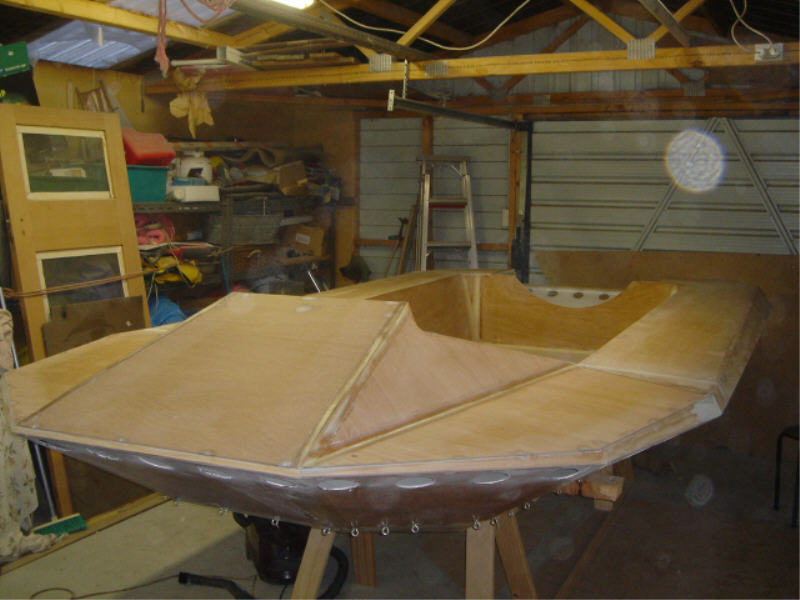
Hmm must remember to turn the lights off next time so I don’t get random spots on my photos 🙂
This is the area where I’m going to fit a 950mm duct and I’ve just realised by looking at this picture that I didn’t allow for the extension in the width of the craft when I cut out those rear corner decks, oh well I will incorporate those extensions into the rear panel when I make it. Just waiting on a duct so I can size things up and continue being productive 🙂
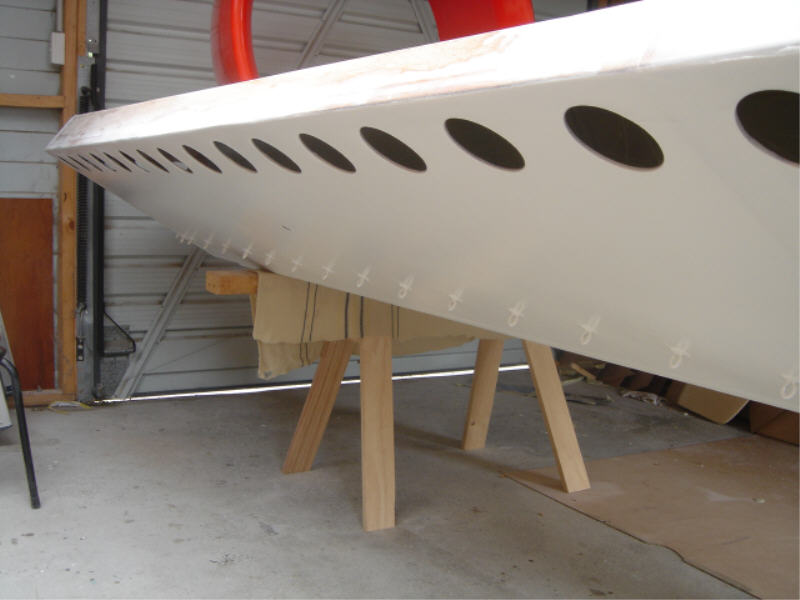
Forgot to mention that the underside is now painted with an Ameron epoxy white paint, the same paint that I used for doing the buoyancy tanks. I have heard that enamel paint would have been just as good, but I like to do things once do it right so I went with this marine specific paint just coz I can 🙂
